Chameleon 起步
初始化
安装 chameleon-tool
依赖环境:node >= 8.10.0、npm >= 5.6.0
建议使用nvm管理 Node 版本,暂不支持使用 yarn、cnpm 等进行安装。
npm i -g chameleon-tool
安装成功后,执行 cml -v 查看当前版本, cml -h 查看帮助文档。
创建项目与启动
- 执行 cml init project
- 输入项目名称
- 等待自动执行 npm install 依赖
- 切换到项目根目录执行cml dev
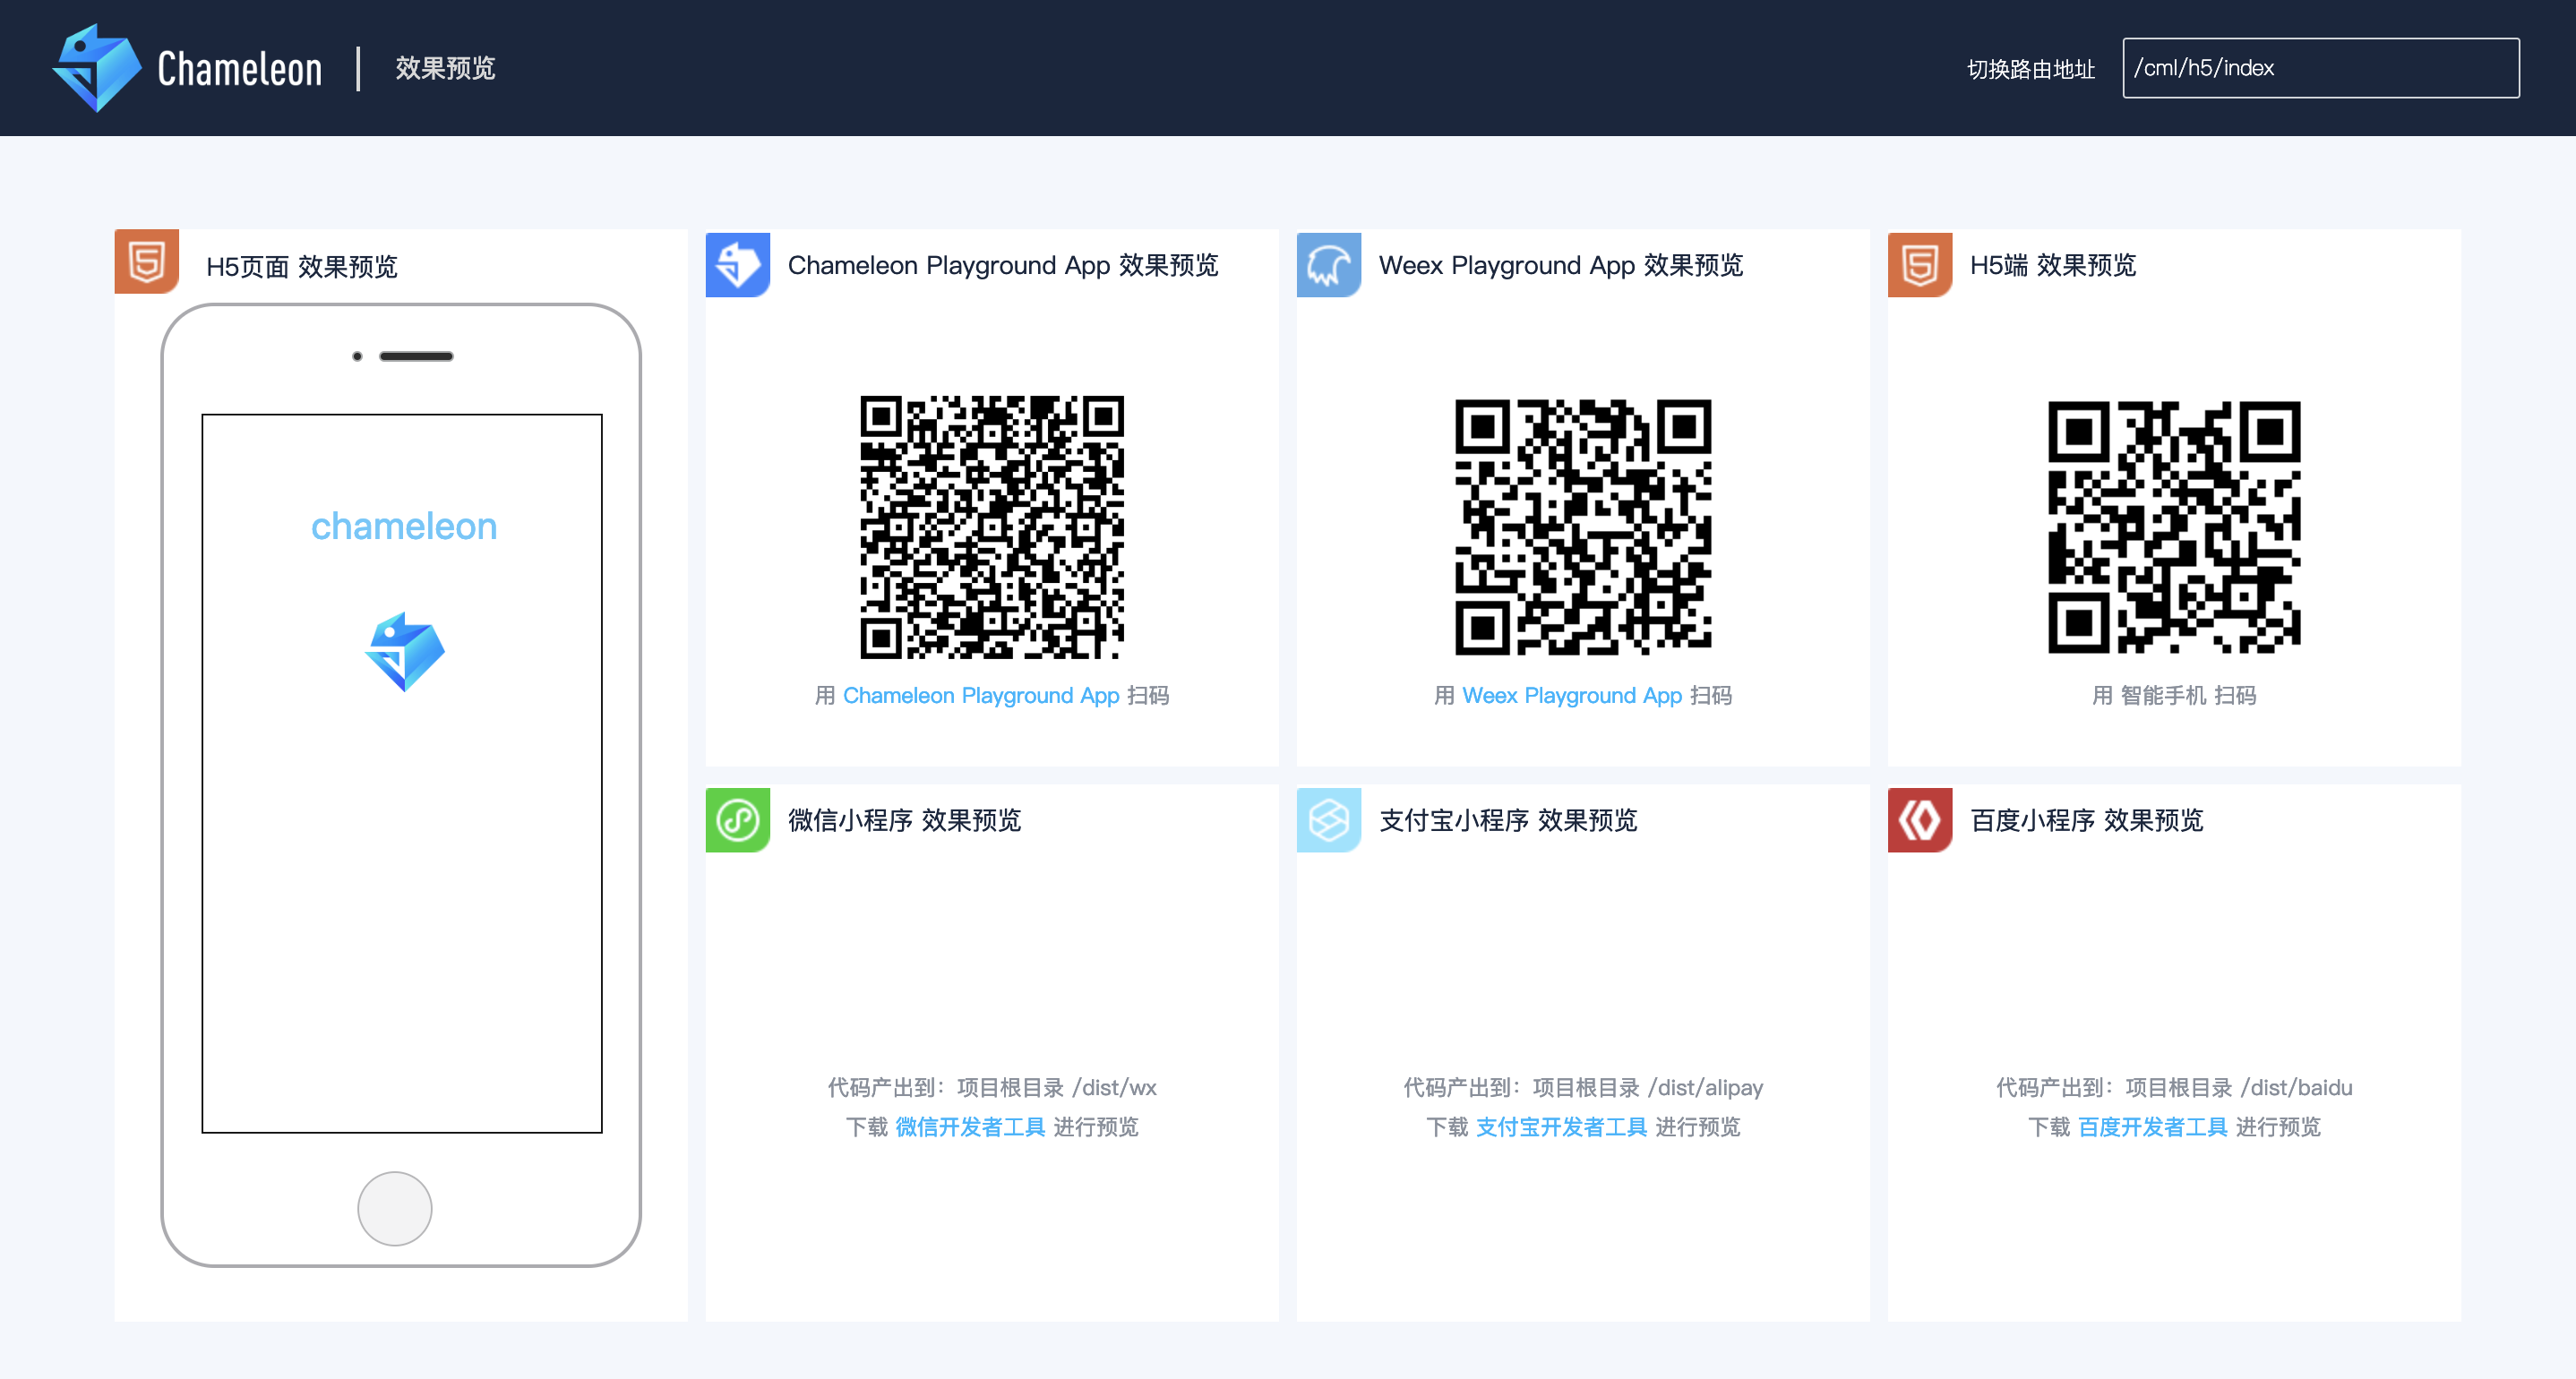
- 会自动打开预览界面 预览界面如下:

Web 端可以点击模拟器内页面右上角打开 新的浏览器窗口。
Native 端的效果请下载 Chameleon Playground (目前可下载 Android 端,iOS 端即将发布)或者下载 Weex Playground 扫码预览
小程序端请下载对应小程序开发工具,打开项目根目录下的 /dist/[wx|alipay|baidu|其他] 目录预览。
对于字节跳动小程序,需要按照字节跳动小程序接入教程配置完毕之后,可以在 dist/tt 下用字节跳动小程序开发者工具打开对应的应用程序
目录与文件结构
生成的目录结构如下,详细介绍参见目录结构。
├── chameleon.config.js                 // 项目的配置文件
├── dist                                // 打包产出目录
  ├── alipay                            // 支付宝小程序代码
  ├── baidu                             // 百度小程序代码
  ├── wx                                // 微信小程序代码
  ├── tt                                // 头条小程序代码
  ├── qq                                // QQ小程序代码
  ├── xx                                // 其他终端
├── mock                                // 模拟数据目录
├── node_modules                        // npm包依赖
├── package.json
└── src                                 // 项目源代码
    ├── app                             // app启动入口
    ├── components                      // 组件文件夹
    ├── pages                           // 页面文件夹
    ├── router.config.json              // 路由配置
    └── store                           // 全局状态管理
编辑器中使用.cml的插件语法高亮,参见编辑器插件,插件持续覆盖更多编辑器。
编辑器插件
- idea、WebStorm 插件 CML Language Support
- VS Code 插件 cml
- Atom 插件 language-cml
- Sublime 插件审核中,敬请期待...
语法体验
替换src/pages/index/index.cml文件,删除src/pages/index/index.cml文件中的所有代码,然后替换为下面的代码,体验 CML 语法。
数据绑定
<template>
  <view>
    <!-- 数据绑定与计算属性 -->
    <text>{{ message }}</text>
    <text class="class1">{{ message2 }}</text>

    <!-- 条件与循环渲染 -->
    <view c-if="{{showlist}}">
      <view c-for="{{array}}" c-for-index="idx" c-for-item="itemName" c-key="city">
        <text> {{ idx }}: {{ itemName.city }}</text>
      </view>
    </view>

    <!-- 事件绑定 -->
    <view c-bind:tap="changeShow"><text>切换展示</text></view>
  </view>
</template>

<script>
class Index {
  data = {
    message: 'HelloCML',
    array: [
      {
        city: '北京',
      },
      {
        city: '上海',
      },
      {
        city: '广州',
      },
    ],
    showlist: true,
  };

  computed = {
    message2: function() {
      return 'computed' + this.message;
    },
  };

  watch = {
    showlist(newVal, oldVal) {
      console.log(`showlist changed:` + newVal);
    },
  };

  methods = {
    changeShow() {
      this.showlist = !this.showlist;
    },
  };

  created() {
    console.log('生命周期');
  }
}

export default new Index();
</script>
<style scoped>
.class1 {
  color: #f00;
}
</style>
<script cml-type="json">
{
}
</script>
创建页面与组件
项目根目录下 执行 cml init page, 输入页面名称 first-page
$ cml init page
? Please input page name:
回车,即可生成页面 组件src/pages/first-page/first-page.cml。
项目根目录下 执行 cml init component,选择Normal component,输入 first-com, 回车,即可生成文件components/first-com/first-com.cml。 组件也是 cml 文件 结构上与页面相同。
拷贝如下代码到first-com.cml
<template>
  <view>
    <text class="first-com-text">我是组件first-com</text>
  </view>
</template>
<script>
class FirstCom {}
export default new FirstCom();
</script>
<style scoped>
.first-com-text {
  color: #0f0;
}
</style>
<script cml-type="json">
{
}
</script>
然后在刚才的src/pages/index/index.cml中引用first-com
<script cml-type="json">
{
  "base": {
    "usingComponents": {
      "first-com": "components/first-com/first-com"
    }
  }
}
</script>
template 中使用 first-com 组件。
<template>
  <view>
    <first-com></first-com>
  </view>
</template>
经过以上操作,你已经学会了组件的引用,丰富的组件等待着你去学习!
项目配置
chameleon.config.js为项目的配置文件,以后定制化构建会使用到,比如是否带 hash,是否压缩等等,可以在项目根目录下执行cml build,执行完成后,项目根目录的dist文件夹下生成 build 模式的文件。
模拟数据
mock/api/index.js 文件内容如下,可以本地模拟 api 请求。
访问 localhost:8000/api/getMessage 即可看到模拟的 api 返回。
端口以实际启动为准,默认 8000.
module.exports = [
  {
    method: ['get', 'post'],
    path: '/api/getMessage',
    controller: function(req, res, next) {
      res.json({
        total: 0,
        message: [
          {
            name: 'HelloCML',
          },
        ],
      });
    },
  },
];
示例 Demo 学习
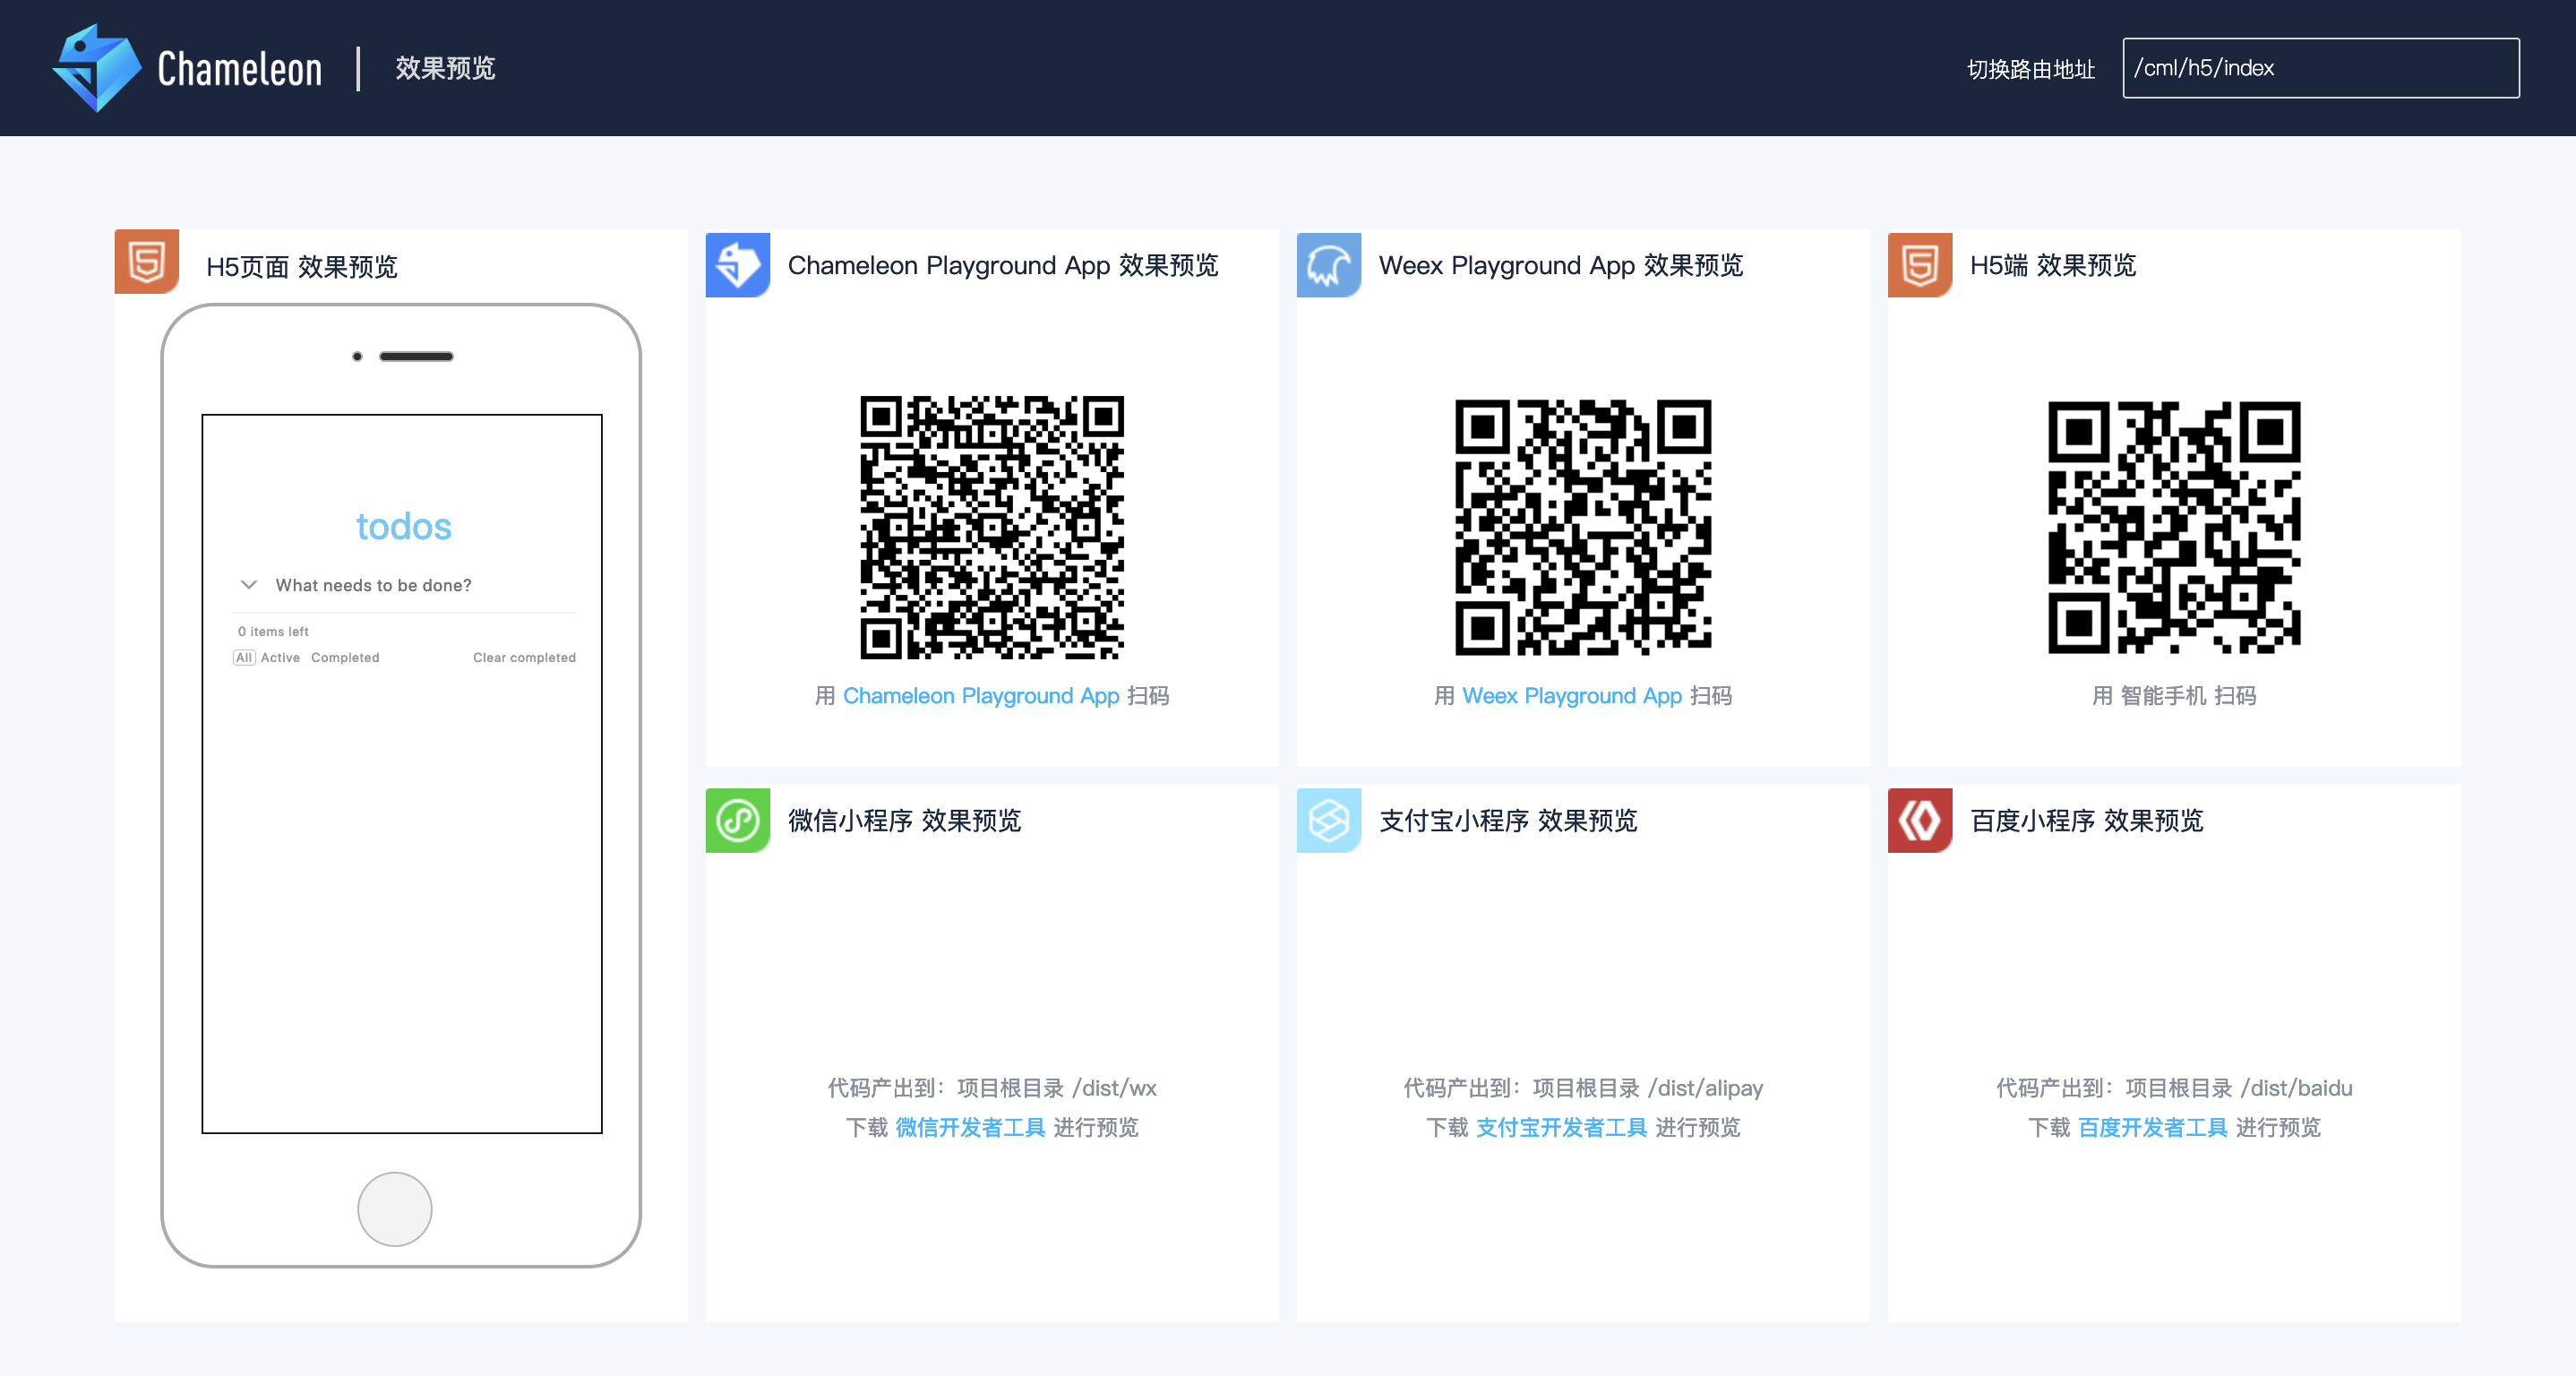
chameleon-tool中内置了 todolist 的项目模板,通过命令cml init project --demo todo 即可生成该模板,按照 1.2 节中的说明启动项目,即可看到如下页面

经过以上的介绍和实践操作,相信你已经了解了 CML 的基本使用,本文档其余部分将涵盖剩余功能和其他高级功能的详尽细节,所以请务必完整阅读整个文档!

 免费AI编程助手


更多建议: